
INSTALLATION STEPS
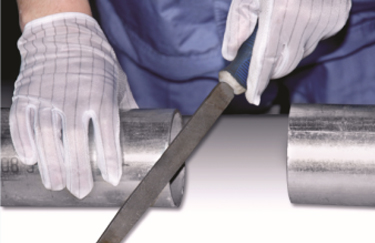
Deburr and remove the ash, dust and sundry, Keep the two pipe ends cut surface smooth.
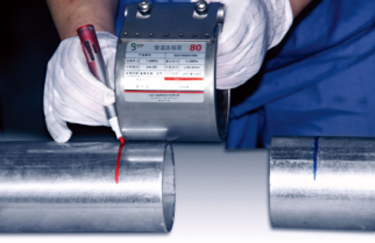
Find the assembly line, and mark the location of the insert connector.
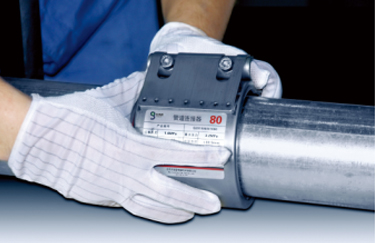
Put the coupling on the one of mark position first,and keep it.

Put the other pipe in the coupling and ensure thecoupling in mark position.
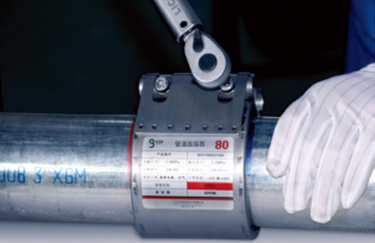
Tightening the two bolts alternately with specified torque wrench
Finished
INSTALLATION GUIDE
Do not drop the coupling
● Keep the coupling clean- leave it in its packaging until you are ready to use it
● Do not dismantle the coupling
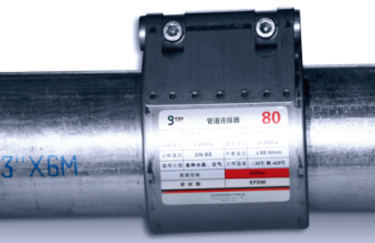
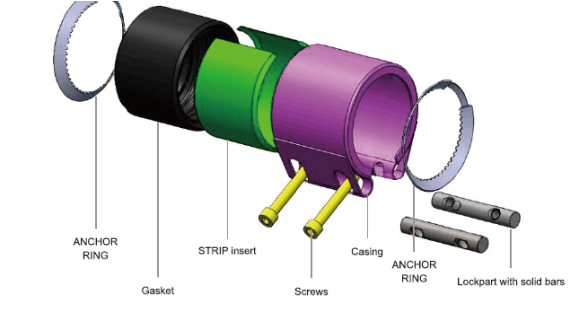
● Check the coupling for completeness: check the anchor rings are present on both sides if you are using axially resistant couplings and if you have requested a vacuum ring, please check that it is in place
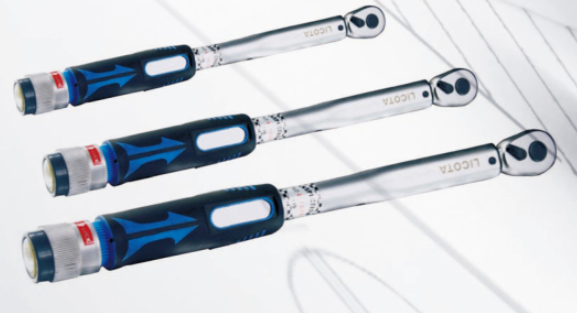
Torque Wrench
To ensure successful use, a torque wrench must be used when install. Please select proper wrench for each types as indicated on the label. The coupling do not require any maintenance and must not be tightened once the torque has been reached. We recommend you mark the coupling once the screws have been torqued up. This will ensure that you and others know that the screws have been tightened. If you are unsure as to whether the screws have already been tightened, loosen the screws completely and repeat the installation from scratch.